It was always a tradition growing up for me to throw a Halloween party for my friends and so this year after a successful birthday party (post coming soon!) I decided it was time to carry on that tradition for my little girl. It turned out to be a really wonderful time and I so loved getting to plan and prepare for it.
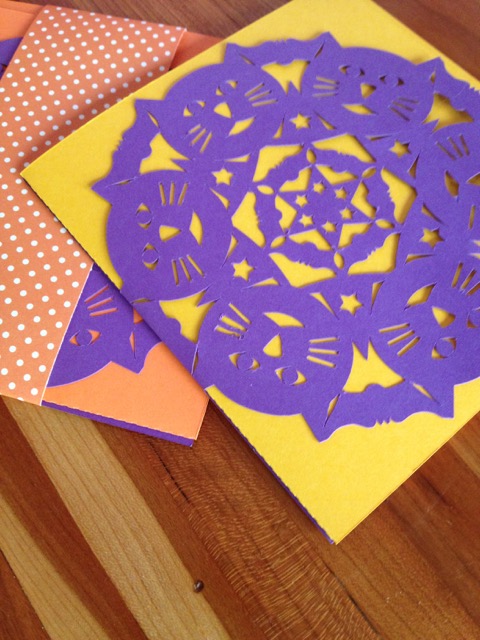
I started by making these paper cut invites on my Silhouette to pass out to her little friends (ranging in ages from one to nine-years-old). The mandala design came from here. Then the real fun began! I then started working on planning out treats and activities for the big day.
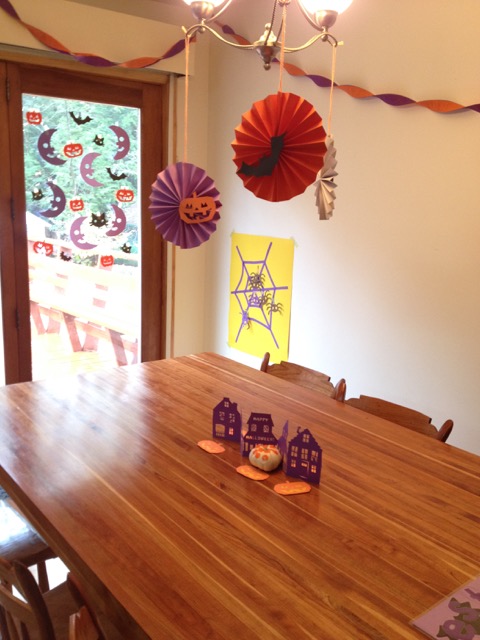
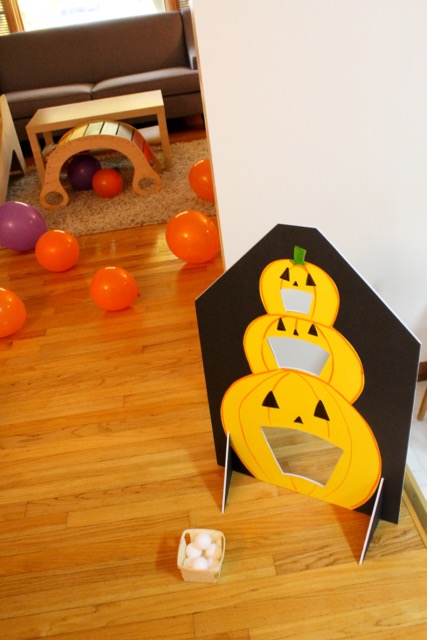
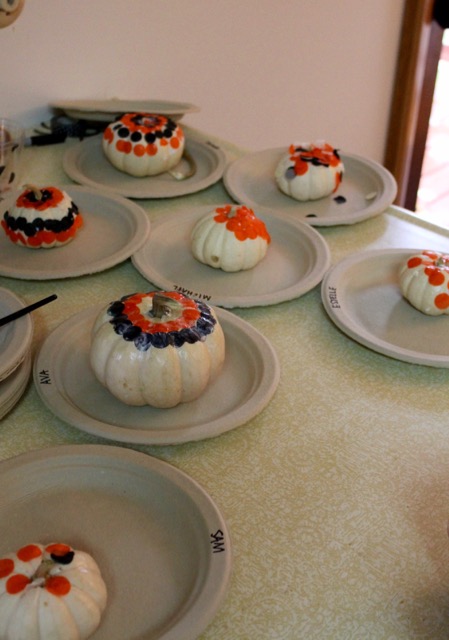
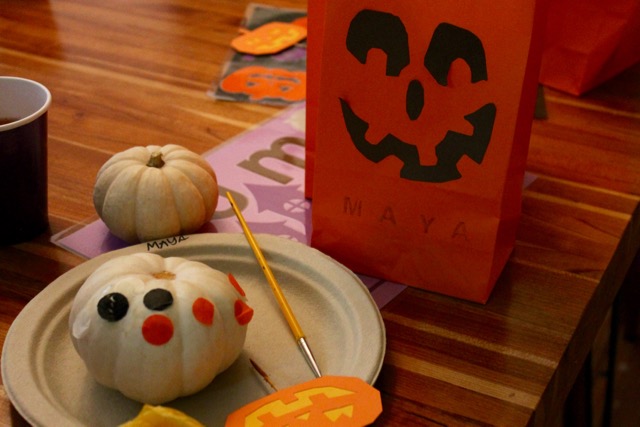
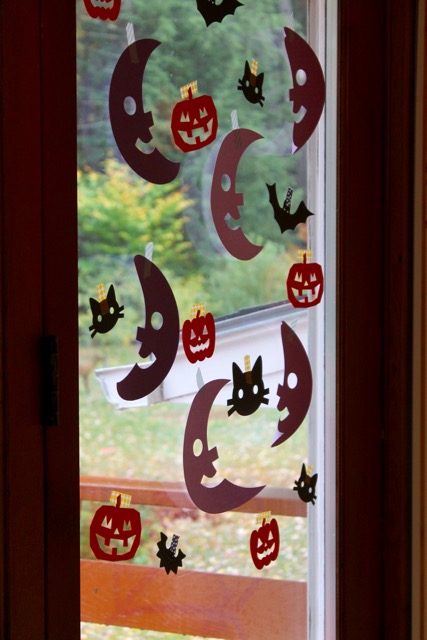

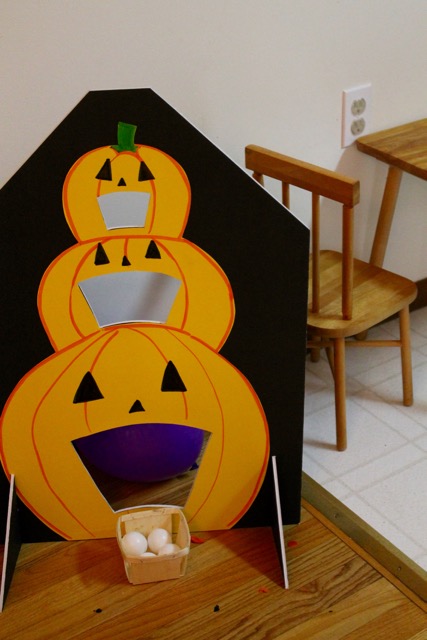
Here was how I set it up: When guests first arrived, I had them decorate their tiny white pumpkins using mod podge and tissue paper confetti in festive colors. To keep the glue off our table, I made little laminated placemats for each one with their name and Halloween cut outs. The day before the party, I cut out all of the shapes and letters for the names and gave my little one the choice of which-person-got-what on their placemat and then I ran them through my laminator. Having the craft first was great as guests were running in varying degrees of lateness, trying to get their little ones in costume and to the party. The latest arrivals were able to complete their pumpkins towards the end of the party so this worked out great. When there was a child who was ready for the next activity before the others, I simply directed them to the pumpkin ball toss game and that seemed to keep them entertained in the in-between moments.
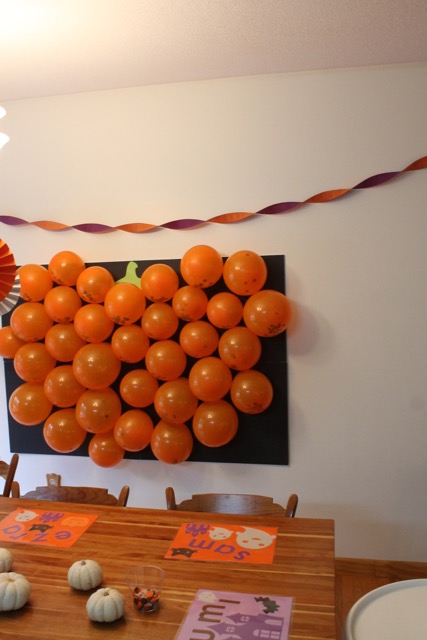
Once everyone had arrived it was time for some real excitement, pop goes the pumpkin! the kids were super into this, especially the older ones. I had filled the balloons with glow bracelets, Halloween-themed erasers, & little stampers. To corral all of their goodies that they retrieved form the balloons, I made treat bags by using this font and my Silhouette to add jack-o-lantern faces to the orange bag and then rubber stamped the names on. Each kid had four balloons to pop and that seemed like just enough.
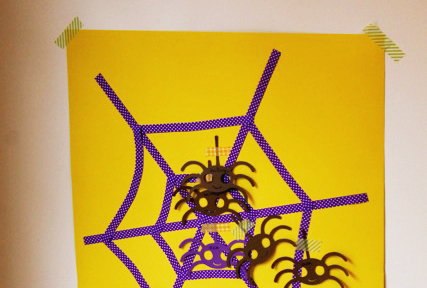
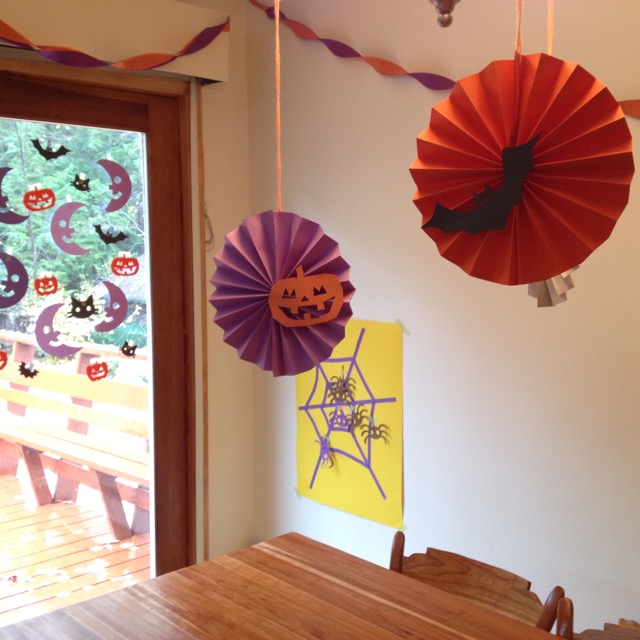
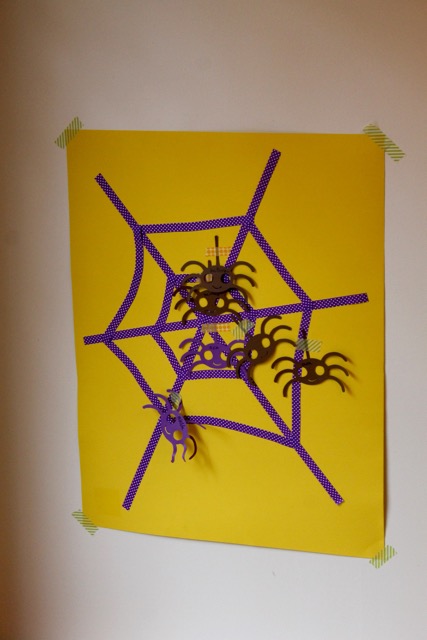
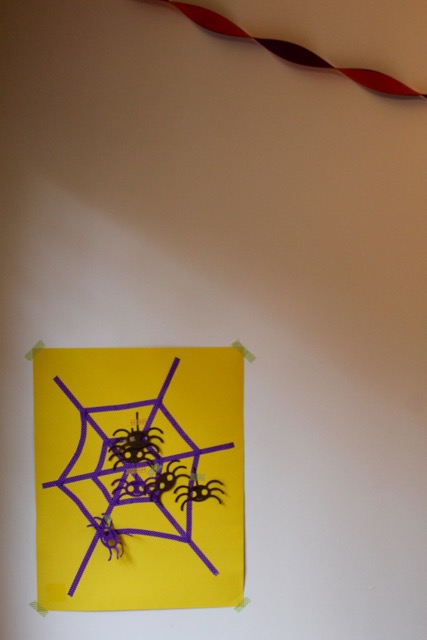
Following that, we played a little round of pin-the-spider-on-the-web. I used decorative fabric tape to make the spider web and then cut out the spiders on my Silhouette and affixed a little piece of washi tape to each so they’d stick (also, don’t forget to label with names!). The airplane sleep mask I used as a blindfold was also very popular especially with my little one who quite enjoyed walking around with it on.
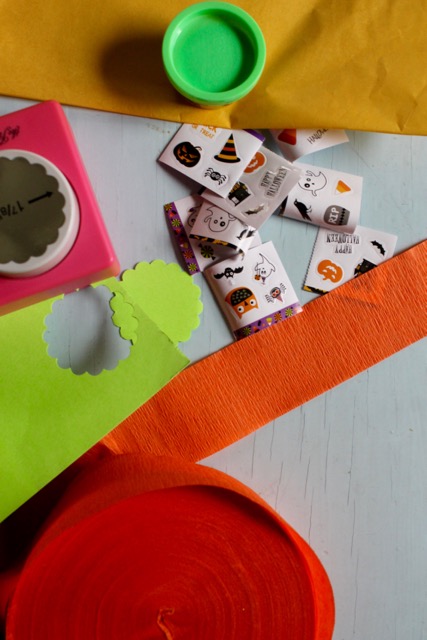
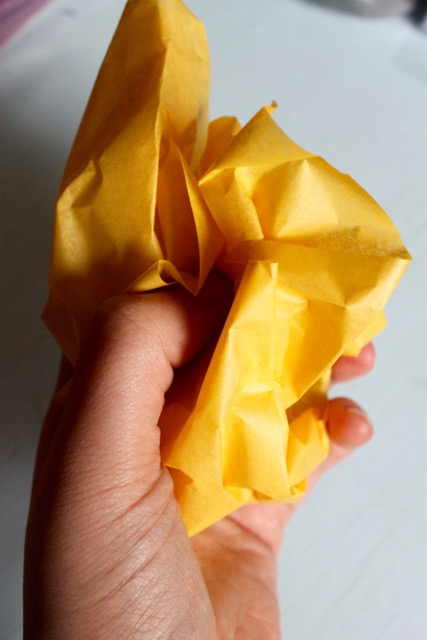
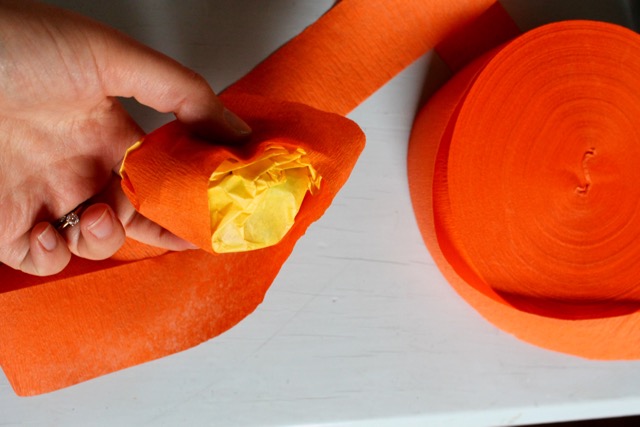
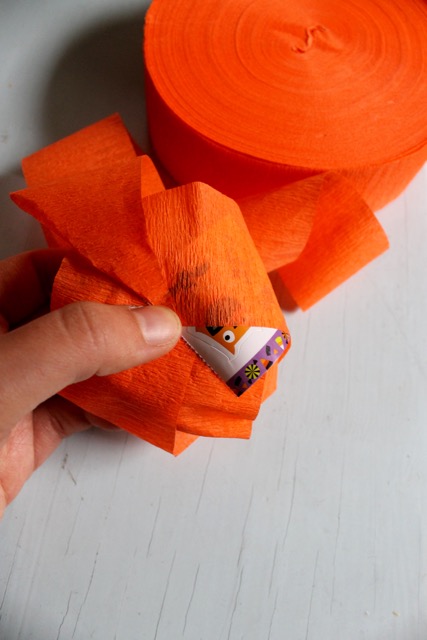
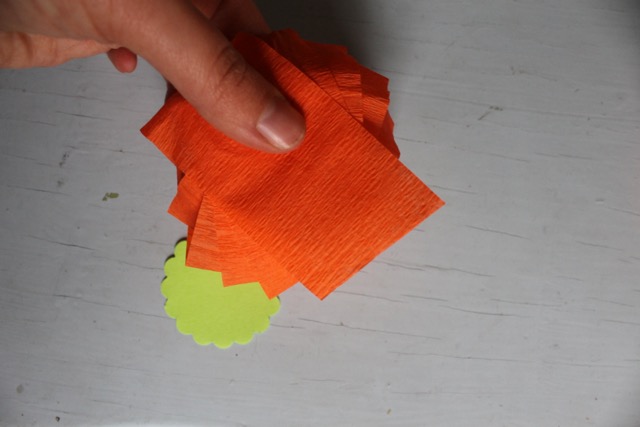
I had originally had an outdoor scavenger hunt with photo clues in mind for the next activity, but the pouring rain sort of ruined that plan. I made pumpkin prize-balls for the kids and instead of having to search for them, I simply let them choose theirs out of a bowl. I’ve included some photos below to show how I made them. Super simple and ALL the guests had a great time unraveling theirs to find what goodies were inside. (Make sure to have those treat bags handy for this too–easy to lose track of little prizes when everyone’s undoing many yards of streamers all around you!)
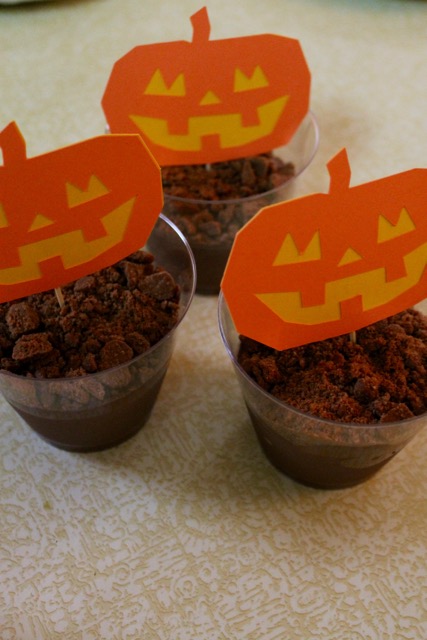
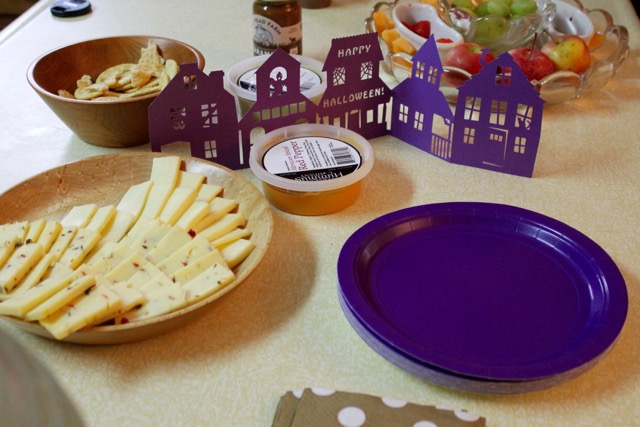
Then it was snack time. I made our favorite from-scratch chocolate pudding recipe up and added a few chocolate graham cracker crumbs to the top and pumpkins toppers to make it look like a pumpkin patch. This sweet treat accompanied mulled cider, cheese & crackers, hummus, cut up fruit & muffins.
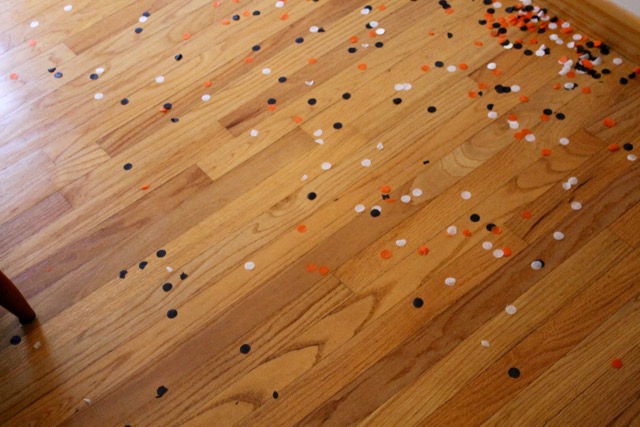
After that the kids played for a bit before heading home and then it was naptime for my little girl and clean up time for me–that pop goes the pumpkin sure left a nice radius of confetti all around, but the cleanup was so worth it for all the fun that was had!