
 We have the good fortune of having a neighbor that’s a cabinet maker whose very generous with his scrap wood. So this project required zero cuts on my part since I was able to find two scraps that were approximately the same size in the stack that I scored for free.
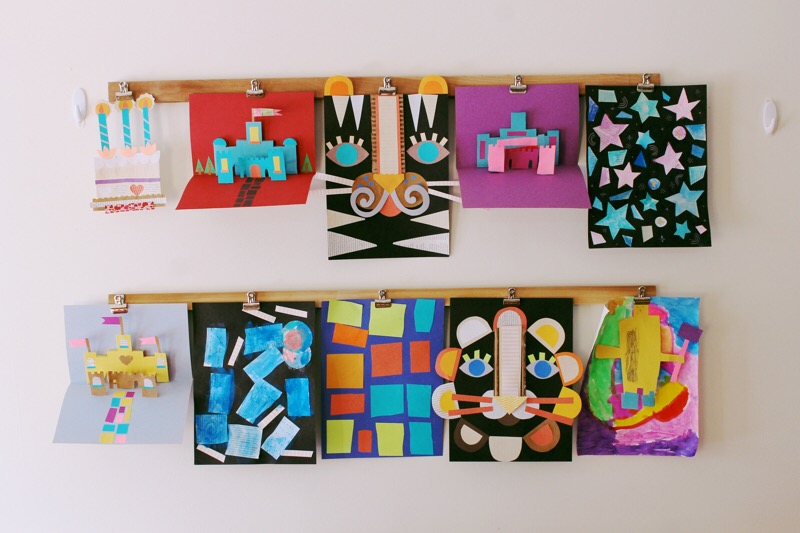
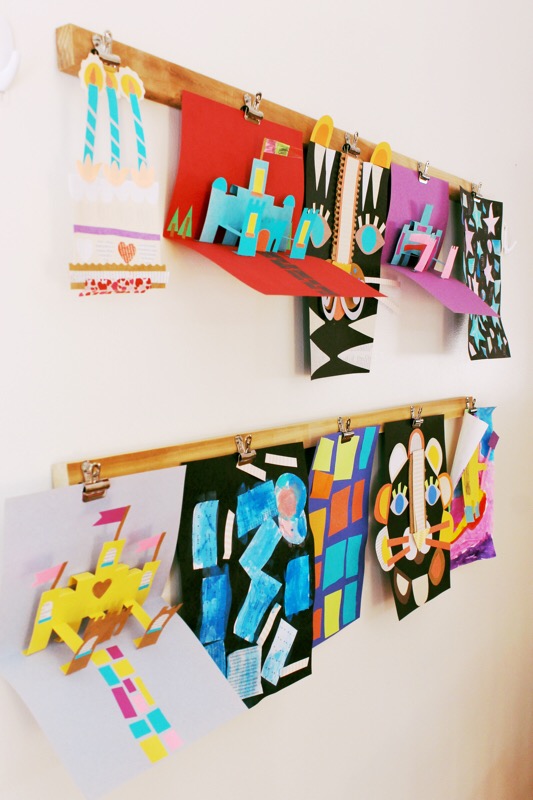
I’m so glad that we don’t have to keep taping up artwork to display it and changing it up is super easy in our little art gallery! Do you need this in your life—keep reading for the full tutorial!
What you need:
wood strips 2” wide by 40” long (or whatever length works for your space)
metal clips (I used exacto brand)
1/4” screws for attaching clips
2” screws & drywall anchors for hanging
drill
screwdriver
1. Mark out the location of the clips. I spaced mine out every 9.5” so that when I hang things up (most frequently artworks that are 9” by 12”) they won’t overlap. I fit 5 clips on each wooden strip. Clips should be centered on the 2” height. I used a pencil and drew in the loop at the top of the clip
2. Drill pilot holes where marked. Where the two end clips are make a second hole 1/4” lower than the one for the clips and drill all the way through, this is where you’ll attach it to the wall.
3. Using the shorter screws and screwdriver attach the 3 middle clips to the wooden strips.
4. Drive drywall anchors in and screw with longer screws, through the wooden strips to attach the wooden strips to the wall.
5. Cover up these screws by attaching the end clips over the top with the shorter screws.
Voila! You’re very own gallery wall is ready for hanging masterpieces!